Chapter 8 - Shoulder Brace, Safety Belt Mount
Chapter 8, for me, is largely just installing the front safety harness attach points.
Changes
This is simple for me. I’m only going to install the 2 front seats, so no rear harnesses nor their attach points. I’m also not installing the front step - I’ll install a retractable one near the end of the build.
The only “common” plans change I made is to install the nutplates in the shoulder brace early.
Additionally, I might not be installing the rear half of the center duct?
Shoulder Brace
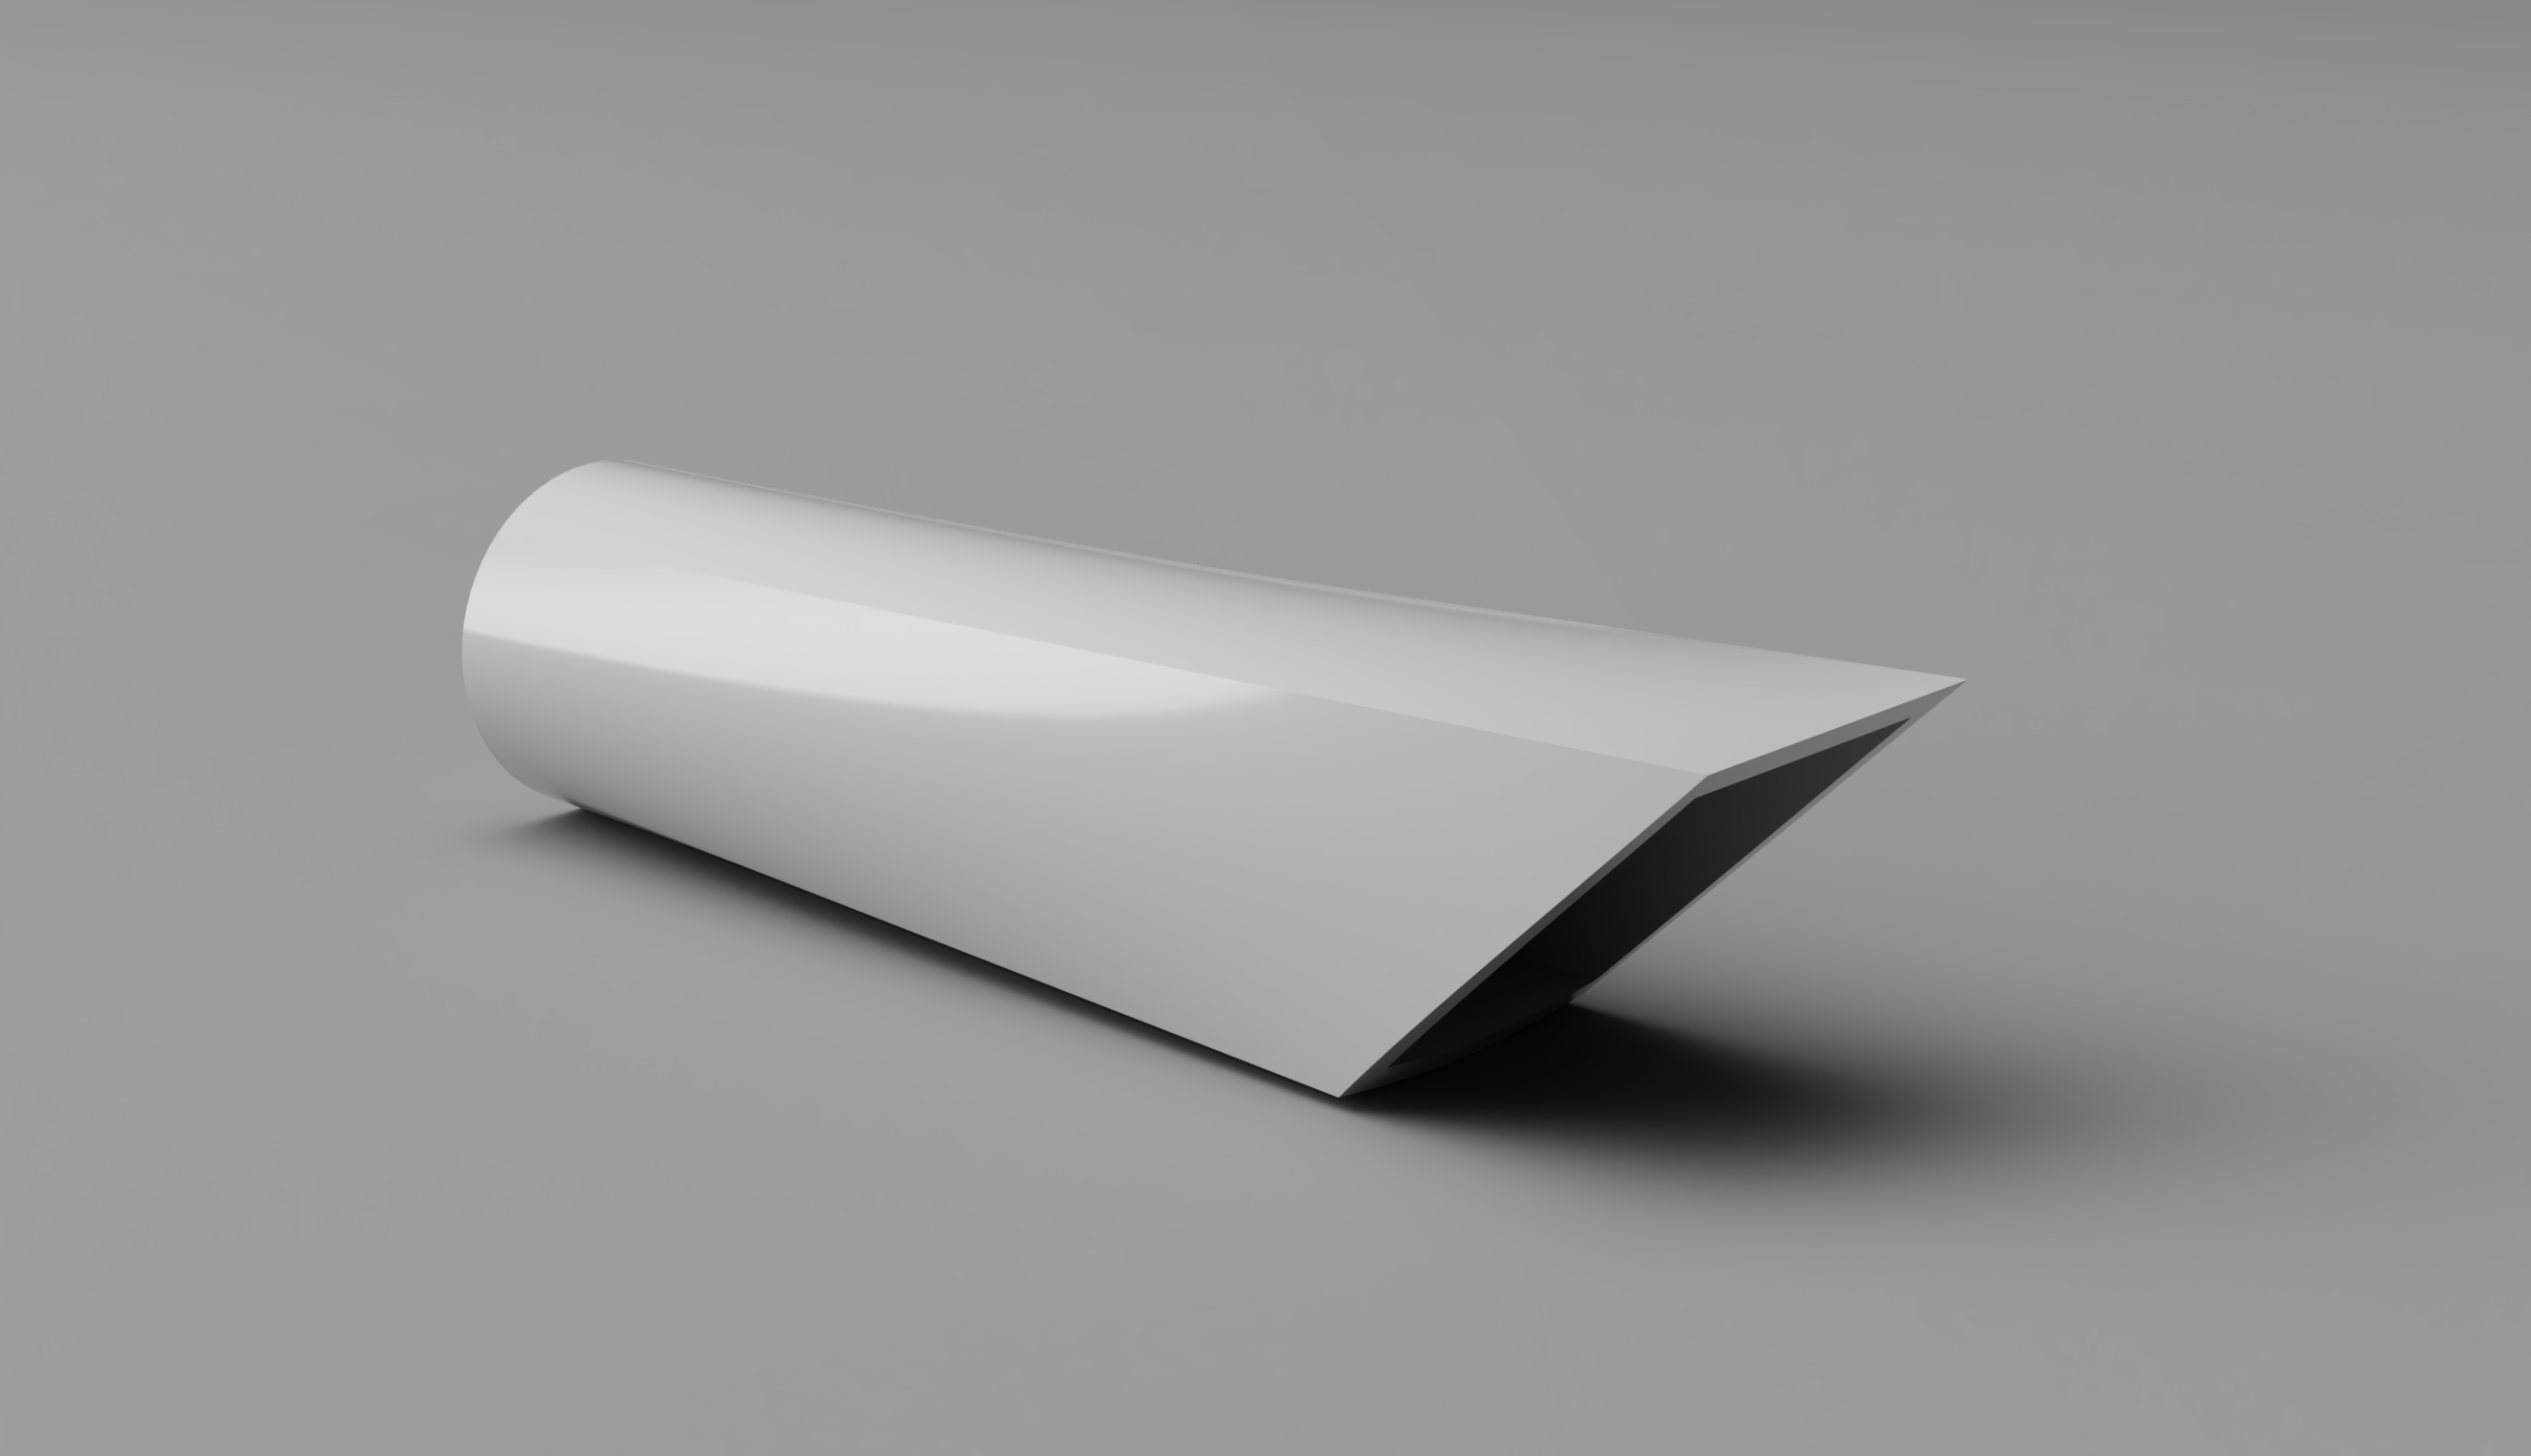
The shoulder brace mounts to the top of the front seatback and contains the top mounting points for the safety harnesses. It’s also where the headrests will be installed.
First, I cut out the foam cores for the shoulder brace. This is comprised of 2 pieces of 3/8th inch PVC foam that will be butted together into a corner piece. I cut these out using a box cutter knife, then I used a bandsaw to cut angles in to them so that they’d fit correctly on the front seatback. The top piece gets 4 hardpoints made of birch installed, which will anchor the shoulder straps of the safety harnesses. I installed these with 5-minute epoxy. While I was test-fitting the birch hardpoints, I broke the foam, but I repaired it with that same batch of 5-minute epoxy. One of the best things about composites is that everything is repairable. Sure, sometimes it’s faster or easier to remake a part, but everything can be repaired.
Next, I joined the two pieces with finishing nails and made test fits to get it right. It took a bit of back and forth to match the contour. Later, I picked up a contour gauge which would have made this go by much quicker. But I got it to fit.
After fitting it, I pulled out the nails and joined them properly with 5-minute epoxy. In another example of how everything is repairable, after this cured, I realized that I had joined them in the wrong orientation. So I cut them apart and rejoined them in the correct orientation.
Once these were joined, I reinforced the birch with BID. I could’ve done this prior to joining the foam, but I didn’t think to.
Next up is making some nut plates to secure the bolts that will hold the safety harnesses. These are plates of 1/16th inch thick 2024-T3 aluminum, with holes drilled to hold these nut anchors. I made some trial plates, learning how to use the tools and how to drill the holes correctly before I made the ones I’ll actually be using. Once I had the aluminum drilled, I riveted the nut anchors by using a table vice to squeeze the rivets into place - the rivet squeezer I ordered hadn’t arrived at that time. They’re not pretty, and they wouldn’t be accepted if they were, like, the wings on an rv-whatever. But, given the use case - preventing the nut anchor from rotating so that the safety harnesses can be secured - these are just fine.
With the nutplates machined, I prepped them for glassing with the recommended 220 grit sandpaper, then alumiprep and Alodine. Remember to wear a respirator when dealing with Alodine, it’s pretty nasty stuff.
I drilled holes through the center of the birch+BID hardpoints, I tested the fit of the bolt, then I glassed the interior.
I used a single ply of BID and let it sit for a few hours until it was in the green stage. I floxed the nut plates in, using some blocks and quarter-inch bolts to clamp them in place, and then attached the shoulder brace in place with fresh epoxy and flox, clamping it in place with the help of 3d-printed blocks.
For easier to follow steps on installing the nutplates during glassing, here’s what I did:
- Once the initial batch of epoxy (the one used to apply the fiberglass) is in the green stage, use a drill to open up the holes you previously drilled in the shoulder brace hardpoints.
- Apply flox (from a fresh batch of epoxy) to the nutplates where they’ll meet the fiberglass.
- Place the nutplates in place, threading in a quarter-inch bolt (AN4-6) from the exterior. I also used a quarter-inch piece of wood to help spread the clamping force on the exterior foam.
- Then finish installing the shoulder brace per plans.
Once it’s installed and the exterior is glassed, use a flashlight to help identify where the holes that you glassed over are. This’ll make opening them up significantly easier.
For the exterior, I used 2 plies of BID, extending an inch over all edges. Around the upper longerons, I wasn’t able to get the BID to wrap - too much complex corners - so I went back later and added some short strips of BID around there.
Additionally, all 4 shoulder harness attach points get 3 plies of UNI extending 2 inches forward of the shoulder brace, and about 3 inches around the back of the front seatback. This reverse 45 degree angle presented obvious problems with getting the fiberglass to adhere, so I printed these blocks to help clamp the fiberglass in place. Unfortunately, when I did clamped them in, I disturbed the fiberglass enough that the top layer of UNI was pulled out of place on this inner angle - which I didn’t notice until after the epoxy had cured. That, with some other errors, gave me a few hours worth of sanding, plus about 45 minutes of glassing to repair this.
After repair, I opened up the holes for the shoulder brace attach bolts. First I drilled a 1/8th inch pilot hole to check I got the location right, then I widened it with a 3/16th inch bit, then finally a quarter inch bit. I got the pilot hole correct first try on 3 of the 4 attach points. For the fourth, I got it on the third try, and I filled the other 2 holes with epoxy. Finishing the shoulder brace.
Lower Harness Attach Points
I started by cutting out 2 3 by 4 inch pieces of Finnish Birch Plywood. These are used in the outer harness attach points, to provide additional bracing against the lower longeron. By this time, I had a contour gauge, which I used to get the exact contour of the area, so I could sand the birch to fit in place. With that, I was able to get a very good fit on the first try. After that, I chamfered the front and rear edges so that the glass would smoothly transition off the birch and onto the fuselage side.
For the center harness attach area, no birth piece is needed, and instead I’ll be adding fiberglass on top of the center harness attach point. This is a piece of aluminum tubing which already had 7 layers of UNI laid up on top of it. I made a paper template to figure out the dimensions needed, and cut fiberglass for the area.
Upon install, I added wet flox to fill in gaps between the birch and fuselage. Per plans, it’s only necessary that the birth be flush with the lower longerons, and that it smoothly transition at the edges. Other gaps are acceptable. Then I brushed pure epoxy on the birch hardpoints and put them in place.
For laying this up, I chose to lay up all the fiberglass on plastic then transfer the layup to the install points. This is both easier and faster than trying to directly lay up on the fuselage. For the outer attach points, I made 2 rectangles with 7 layers of BID, which extend past the birch pieces by an inch. For the center piece, which had significantly more curves to deal with, I created 3 rectangles: 1 with 3 plies BID, UNI, BID, and the other 2 with 2 plies of UNI and BID. I cut these to size and individually installed them. This allowed me to better ensure that the fiberglass would conform to the curves. I didn’t do this for the outer attach points, because they’re significantly flatter.
After cure, I used a drill to open up the hole for the aluminum tubing in the center harness.
Center Duct Extension
I’m not certain if I’ll be using this yet. But I’ve started work on this, so I’ll include this.
This uses a mix of old and new school techniques. First, I started work on a template for the rear electrical duct extension. Because of the curves of the fuselage floor here, the Cozy plans advise creating a template for the duct out of cardboard or scrap foam. I elected to use scrap foam for this. Next, for a transition piece from the duct through the landing gear hellhole, the cozy plans have you create a plug that transitions from square on one end to being a circle on the other end. I elected to instead 3d-print that plug, mocking it up in CAD first.
[STL of duct transition plug](src/assets/cad/chapter_8/Duct Transition Plug.stl)
Once printed, I traced out the outline to figure out how much fiberglass to cut, and then I wrapped it in packaging tape as a cheap form of mold release.
Back to the duct itself, I used an extra piece of side wall from the front duct - I had accidentally made 2 right sides instead of a left side and a right side - to create the top, trimming it to size using my band saw.
Will I even finish the center duct?
There’s not a consensus on whether (the center duct) is structural or not. If it’s not structural, then I don’t see much of a point in me installing it. Except maybe as a form of cable management. The center duct is meant to be a heat duct, but the electric motor won’t generate enough heat for it to be worth it for me to route that heat forward. The gas builders install it because the primary output of a gas motor is heat, with only incidental amounts of usable output. So even with the (I assume) large amounts of waste in the heat duct, it’s worth it to install. My plan for heating has always been more direct heat - heating pads on the seats.
Videos
The first video I made on Chapter 8 covers the harness attach points. I had to stop because I didn’t have the hardware necessary to finish them. Additionally, as I covered earlier, I’m not entirely certain if I’ll even install the rear half of the center duct
Regardless, the first video covers only the harness attach points:
Log
- 2023-09-09: Made shoulder brace pieces, cut wood hardpoints, installed them in top shoulder brace piece using 5 minute epoxy.
- 2023-09-10: Joined shoulder brace pieces together, sanded front seatback in preparation for attaching shoulder brace to the front seatback.
- 2023-09-16: Contoured birch piece for outer seatbelt attach points.
- 2023-09-17: Installed birch & BID layup for outer seatbelt attach points. Installed layup for center seatbelt attach points.
- 2023-09-19: Started work on template for rear electrical duct extension. Created CAD duct transition piece plug.
- 2023-09-20: Printed transition piece plug. Wrapped it in packaging tape as a mold release. Finished template for rear electrical duct sides. Used an extra piece from the front duct to make the top for the rear duct.
- 2023-09-21: Cut aluminum for practice nutplates.
- 2023-09-23: Machined & Assembled practice nutplates.
- 2023-09-26: Machined & Assembled actual nutplates.
- 2023-09-30: Add first set of BID reinforcements to shoulder brace hardpoints.
- 2023-10-01: Added second set of BID reinforcements to shoulder brace hardpoints (first set didn’t end up flush with the foam).
- 2023-10-04: Alumiprep’d and Alodine’d nutplates (first try). I didn’t like how this came out, so I tried again later.
- 2023-10-05: Drilled center holes in shoulder brace hardpoints. Alumiprep’d and Alodine’d nutplates (second try)
- 2023-10-07: Glassed interior of shoulder brace. Installed nutplates. Installed shoulder brace onto front seatback.
- 2023-10-08: Removed clamping blocks from front seatback.
- 2023-10-09 through 2023-10-19: Sick with what was likely COVID. Be sure to take care of yourself!
- 2023-10-20: Glassed exterior of shoulder brace.
- 2023-10-21: Removed peel ply from shoulder brace. Marked spots to repair.
- 2023-10-23: Sanded fiberglass around repair spots.
- 2023-10-25: More sanding. Re-glassing the spots that needed repair.
- 2023-10-26: Opened up holes in shoulder brace hardpoints.
- 2023-11-13: Published video about Harness Attach Points
Last updated: 2023-11-13 07:50:16 -0800